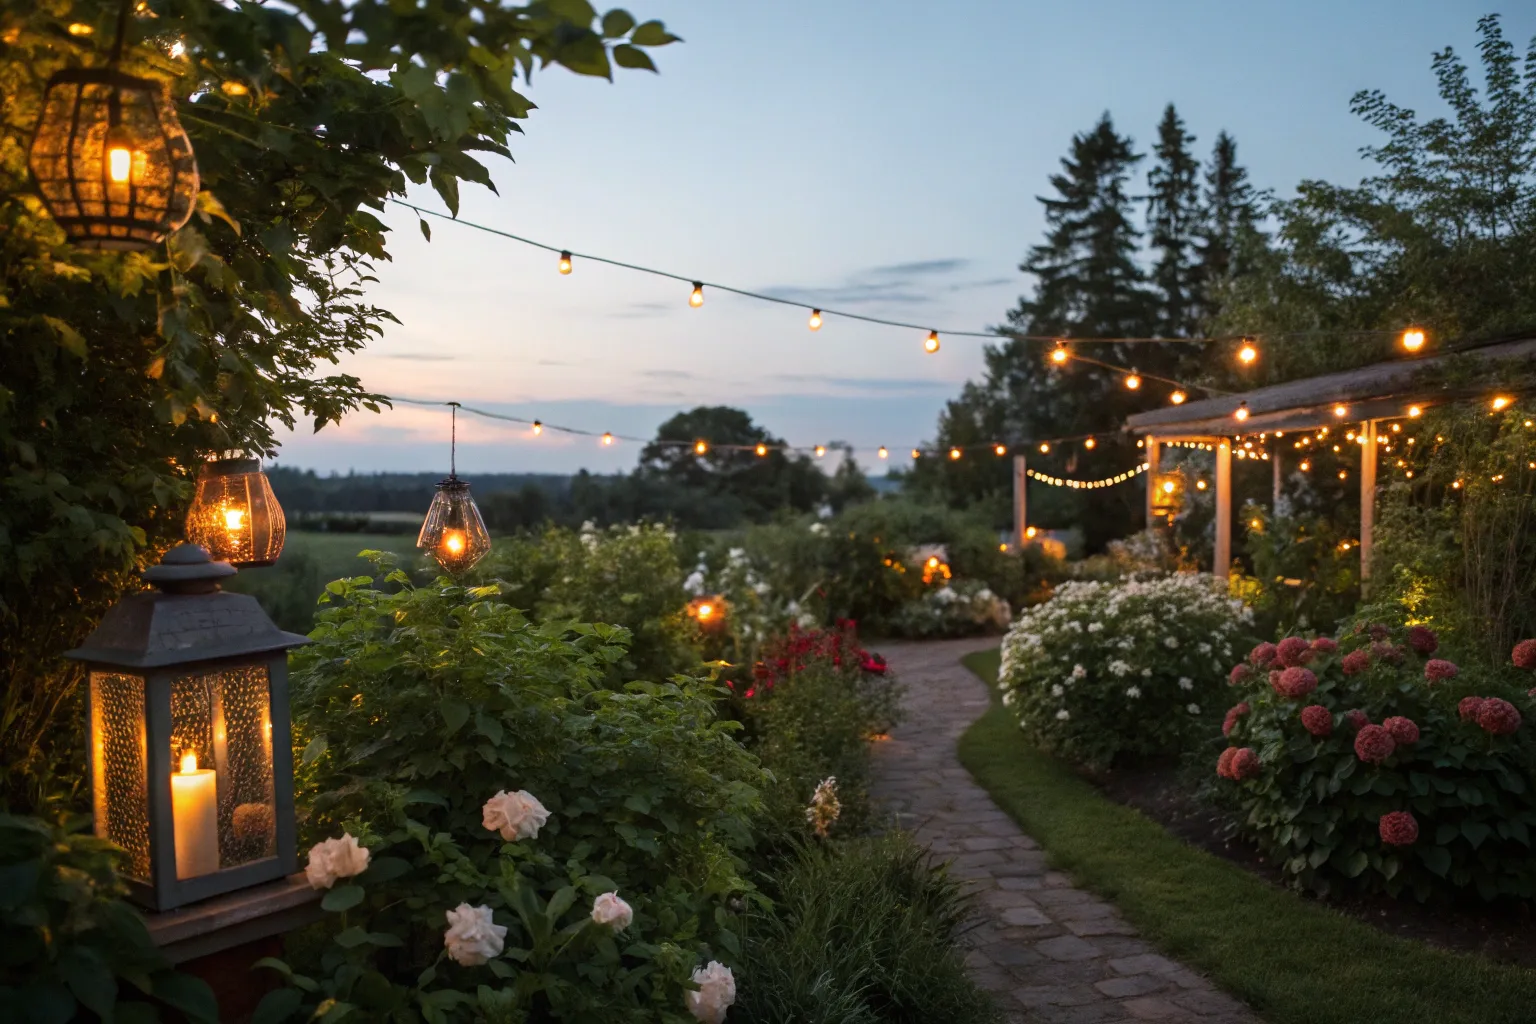
After dusk falls, the right lighting doesn’t just illuminate paths or highlight gardens—it extends your living space into the night, transforming routine outdoor areas into inviting evening retreats. Understanding how different lighting layers interact allows you to craft spaces that balance safety, functionality, and atmosphere.
Understanding Light Quality and Color Temperature
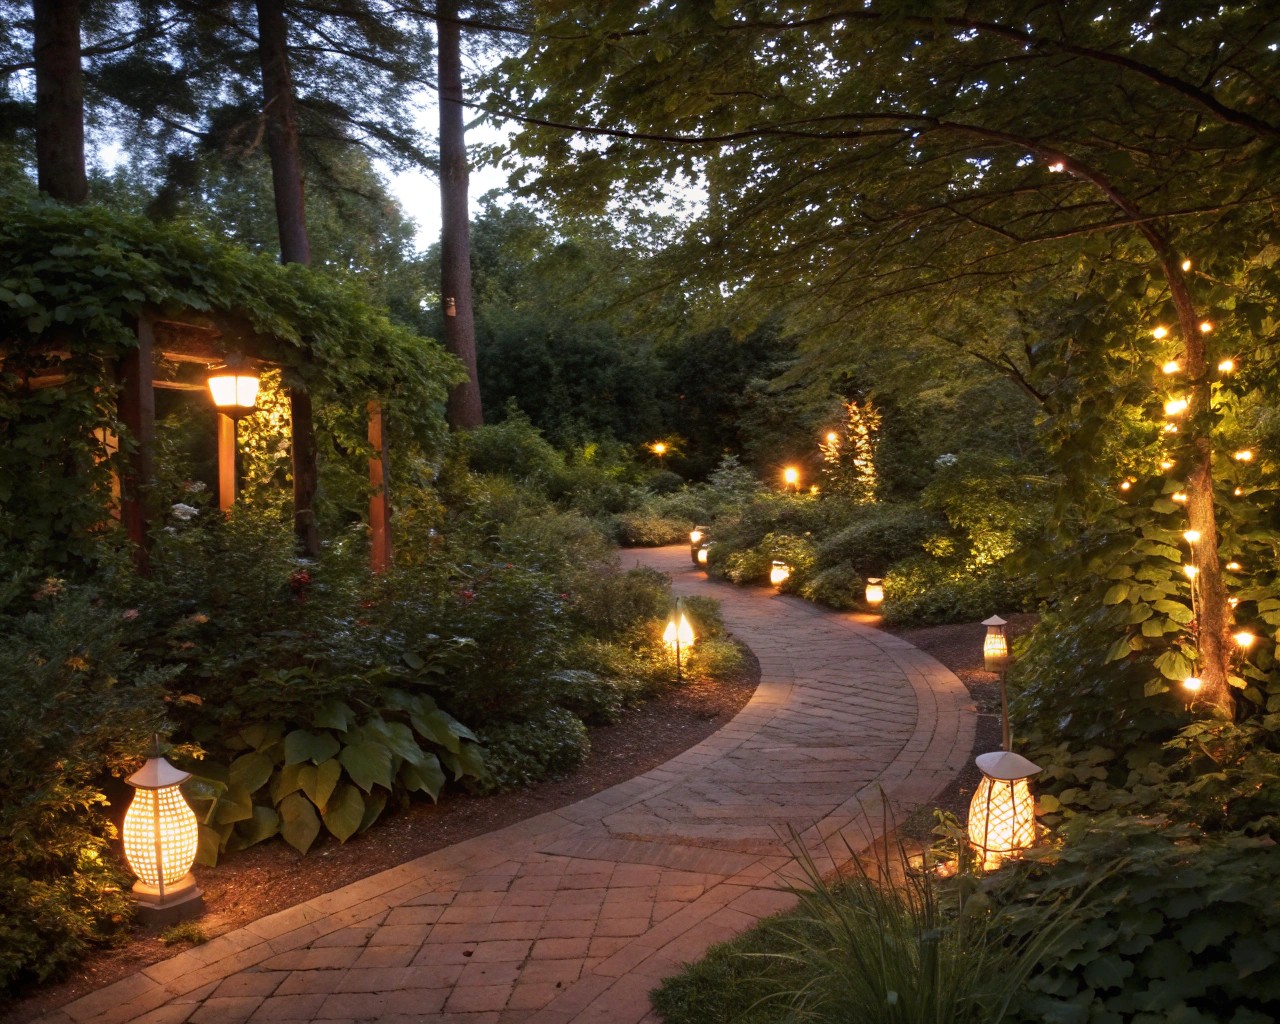
The warmth of outdoor lighting hinges on a technical specification that dramatically affects ambiance: color temperature, measured in Kelvin (K). This measurement determines whether light appears warm and golden or cool and crisp.
For evening outdoor spaces, the 2700K to 3000K range creates the most welcoming atmosphere. This warm white spectrum mimics traditional incandescent bulbs and enhances natural materials like wood, stone, and foliage without overwhelming them. At 2700K, light takes on a golden, candlelit quality that softens edges and creates intimate gathering spaces. Moving slightly cooler to 3000K produces a cleaner white that still feels inviting while offering better color rendering for tasks like outdoor cooking.
The 3500K to 4000K range—often called soft white—strikes a balance between warmth and visibility. I’ve found this temperature particularly effective when you want to draw attention to specific features. For instance, using 3500K to illuminate a water feature or specimen tree creates subtle contrast against warmer 2700K ambient lighting elsewhere, guiding the eye without harsh transitions.
Cool white temperatures above 4000K generally feel too clinical for residential evening spaces, though they serve specific purposes. The 4000K range effectively mimics moonlight when used in downlighting applications, creating natural-looking illumination that filters through tree canopies. Beyond 4500K, light becomes increasingly blue-toned and works better for security applications than ambiance.
Quick Reference: Color Temperature Applications
| Temperature Range | Best Applications | Atmospheric Effect |
|---|---|---|
| 2700K | Architectural elements, seating areas, entertaining spaces | Cozy, intimate, golden glow |
| 3000K | Pathways, garden beds, general illumination | Warm, natural, welcoming |
| 3500-4000K | Accent features, modern designs, task areas | Balanced, clear, subtle contrast |
| 4000K+ | Moonlighting effect, security zones | Crisp, natural moonlight simulation |
Creating Depth Through Layered Lighting
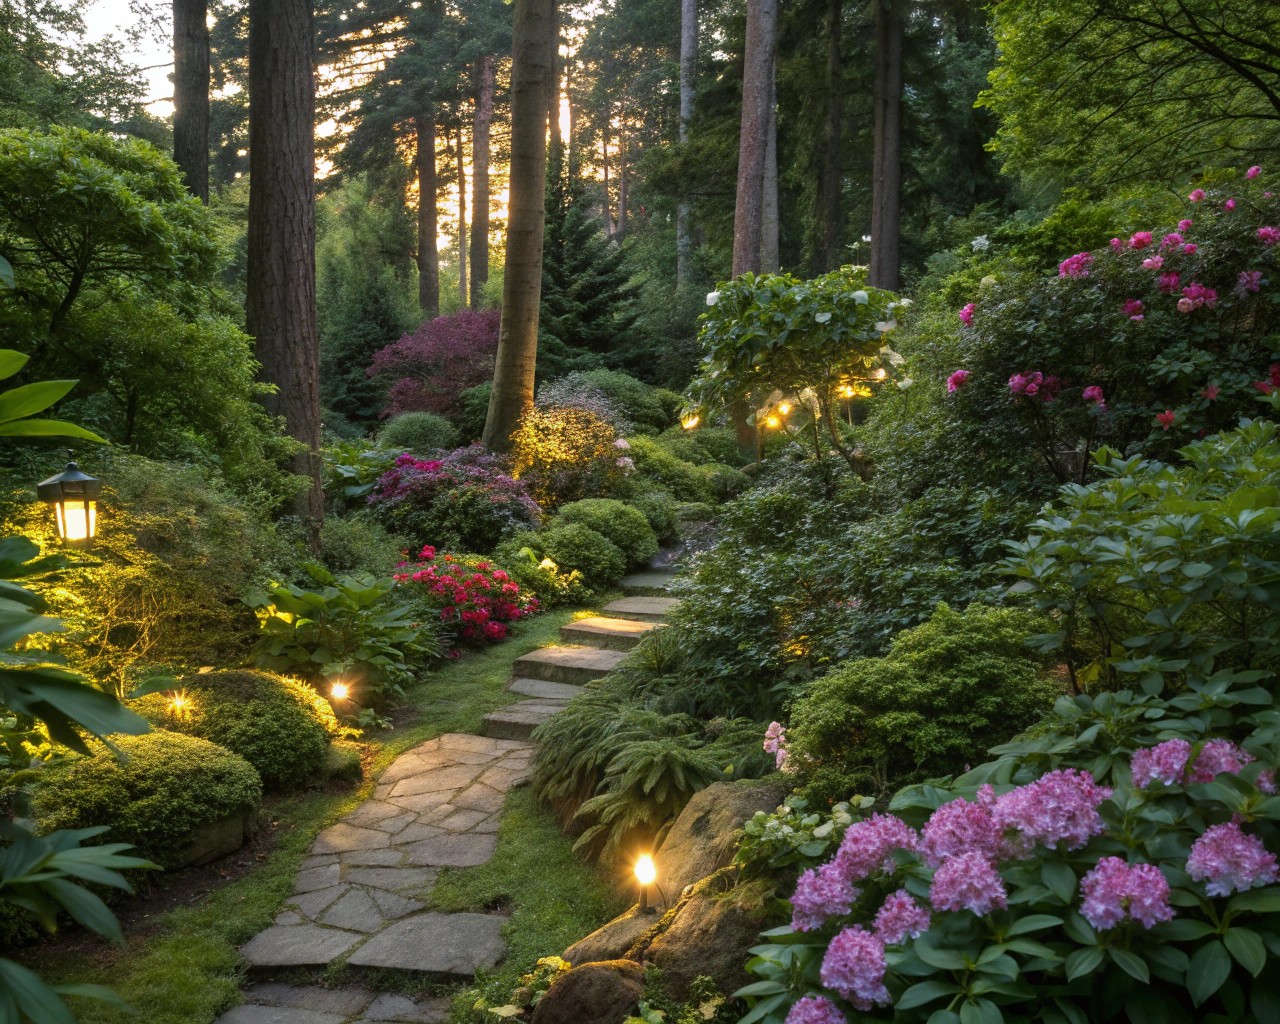
Professional outdoor lighting design relies on three distinct layers working in concert, each serving a specific purpose while contributing to overall cohesion.
Ambient lighting establishes the foundation—gentle, overall illumination that allows comfortable movement and sets the space’s mood. Rather than flooding an area with uniform brightness, effective ambient lighting creates soft pools of light with gradual transitions. String lights draped overhead, wall-mounted sconces along a pergola, or downlights filtering through tree branches all provide this base layer. The key is distributing light sources so they feel almost invisible in placement, creating glow without obvious fixtures.
Task lighting addresses functional needs—illuminating steps, pathways, cooking zones, and dining surfaces where activities require focused visibility. The challenge lies in providing adequate brightness without destroying the atmospheric quality you’re building. Path lights spaced 8 to 10 feet apart offer safety along walkways without creating a runway effect. For outdoor kitchens, under-cabinet LED strips illuminate countertops while wall-mounted fixtures provide downlighting for grills and prep areas. Step lights recessed flush with surfaces mark elevation changes without visual intrusion.
Accent lighting introduces drama and focal points, highlighting architectural elements, mature trees, or landscape features that deserve attention after dark. This layer adds the visual interest that transforms adequate outdoor lighting into captivating outdoor lighting. Uplighting placed at tree bases casts dramatic shadows through branches and canopy. For trees with interesting bark or branching structure, position fixtures 12 to 18 inches from the trunk, angling upward to capture texture. Broader canopies benefit from 40-degree beam angles, while narrow vertical specimens need tighter 20-degree spreads.
The interplay between these layers creates the depth that makes outdoor spaces feel dimensional rather than flat. Varying the height of light sources—some overhead, others at mid-level, still others near ground—produces the complexity that keeps spaces visually engaging. Strategic shadows matter as much as illumination; areas with less light create mystery and prevent the monotonous brightness that flattens a landscape.
Practical Lighting Techniques for Evening Spaces
Moonlighting: Nature’s Blueprint
Moonlighting replicates the dappled illumination of natural moonlight filtering through foliage. This technique mounts fixtures high in mature trees or on tall structures—typically 10 feet or higher—angling them downward to cast light through branches onto the ground below. The result feels organic rather than designed, creating moving patterns as breezes shift leaves.
For successful moonlighting, fixture placement requires careful consideration. Position lights where branches will naturally diffuse the beam, softening the effect. Cool white temperatures around 4000K enhance the moonlight simulation, though warmer tones work if they match your overall color scheme. The technique particularly shines when illuminating patios, pools, or broad lawns where you want gentle coverage without multiple ground-level fixtures.
String and Bistro Lighting
Overhead string lights deliver immediate warmth and work remarkably well for creating defined entertaining zones. The installation matters tremendously—sagging strings look unintentional while properly tensioned lines appear deliberate and polished.
For installation, drill pilot holes for eye bolts in soffits, pergola beams, or mature tree trunks, keeping mounting points as level as possible. Thread picture wire rated for outdoor use between anchor points, using pliers to secure it tightly around each eye bolt. Small wire pieces attach the light cord to the main wire at intervals, allowing you to slide the string along until it hangs taut. Choose layouts based on your space: perimeter patterns outline patios, V-patterns work well for decks attached to structures, and W-patterns provide fuller coverage for larger areas.
Pathway and Step Illumination
Safe navigation requires consistent, glare-free lighting along circulation routes. Space path lights every 8 to 10 feet along straight walkways, adjusting closer for curves or uneven terrain. Staggered placement—alternating fixtures on opposite sides of the path—prevents the tunnel effect while maintaining adequate coverage.
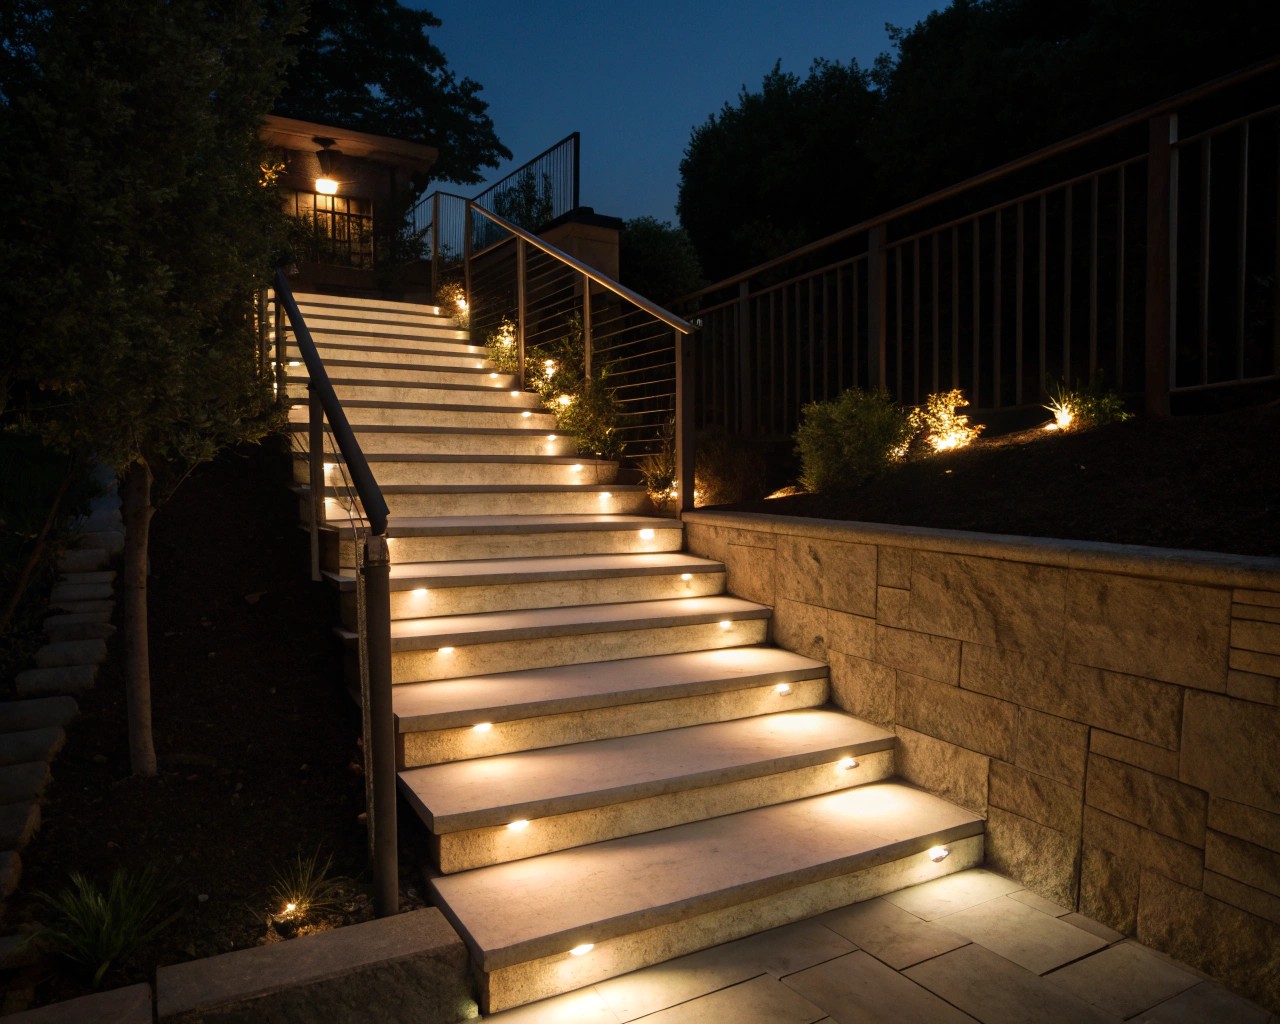
The fixtures themselves should direct light downward and across surfaces rather than outward into eyes. Low-profile bollards or flush-mounted deck lights integrate into hardscape without competing for attention during daylight hours. For steps, recessed fixtures installed in risers or treads mark each elevation change clearly.
Lanterns and Decorative Elements
Portable lighting introduces flexibility that fixed installations can’t match. Lanterns placed strategically throughout seating areas add warmth and can be repositioned as gatherings shift. Flameless LED candles inside lanterns provide realistic flickering without fire hazard or wind concerns. For pest control, citronella candles serve double duty, deterring mosquitoes while contributing ambient glow.
Tabletop lights—battery-operated lanterns, lamps, or mason jars filled with fairy lights—illuminate specific conversation or dining zones without installation requirements. These mobile options shine particularly when entertaining, allowing you to adjust lighting as activities move from cooking to dining to lounging.
Sustainable and Efficient Lighting Approaches
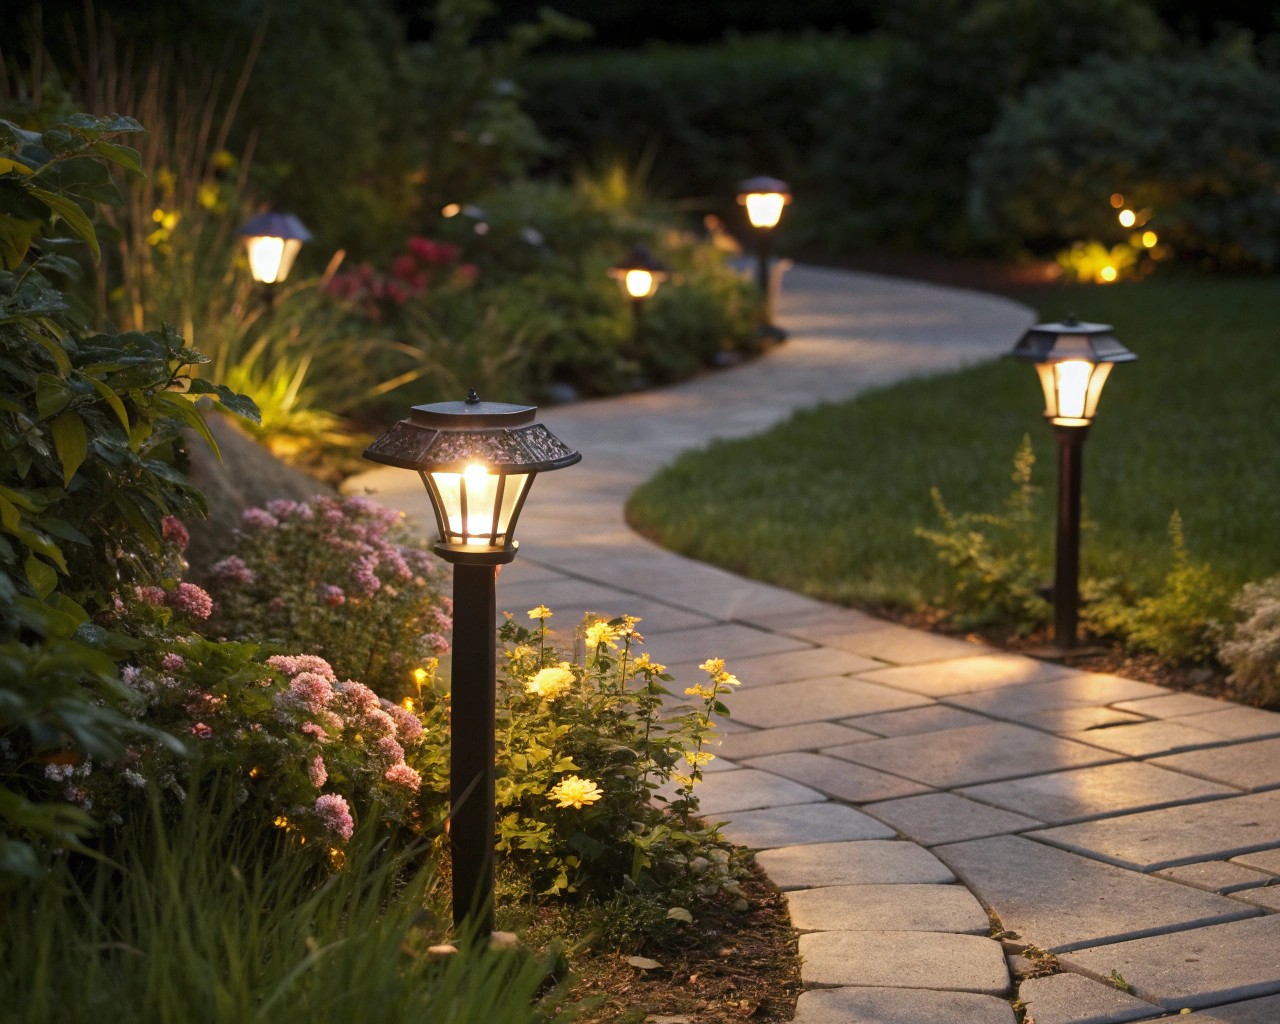
Solar-powered fixtures harness renewable energy, eliminating electrical infrastructure needs and ongoing operating costs. Modern solar technology has advanced considerably from early generation products, with high-efficiency photovoltaic cells and LED bulbs producing adequate illumination for pathway and accent applications.
For solar lighting to perform reliably, placement requires full sun exposure during charging hours. Panels should face south (in the northern hemisphere) without tree or structure shading. Quality matters significantly—commercial-grade solar fixtures with properly sized battery storage outperform inexpensive alternatives substantially. The latter often produce insufficient light, requiring excessive quantities that create the “airport runway” effect while still failing to illuminate adequately.
LED technology dramatically reduces energy consumption regardless of power source. LEDs use up to 90 percent less energy than incandescent equivalents while lasting far longer. They reach full brightness instantly, making them ideal for motion-sensor applications where delayed warm-up would defeat the purpose. The absence of heat generation improves safety and allows installation in enclosed fixtures without overheating concerns.
Control systems extend efficiency further. Timers and photocells ensure lights operate only when needed, while dimmers allow intensity adjustment matching activity levels. Smart outdoor lighting systems controlled via smartphone apps enable remote operation and scheduling, adapting automatically to seasonal daylight variations.
Common Design Mistakes to Avoid
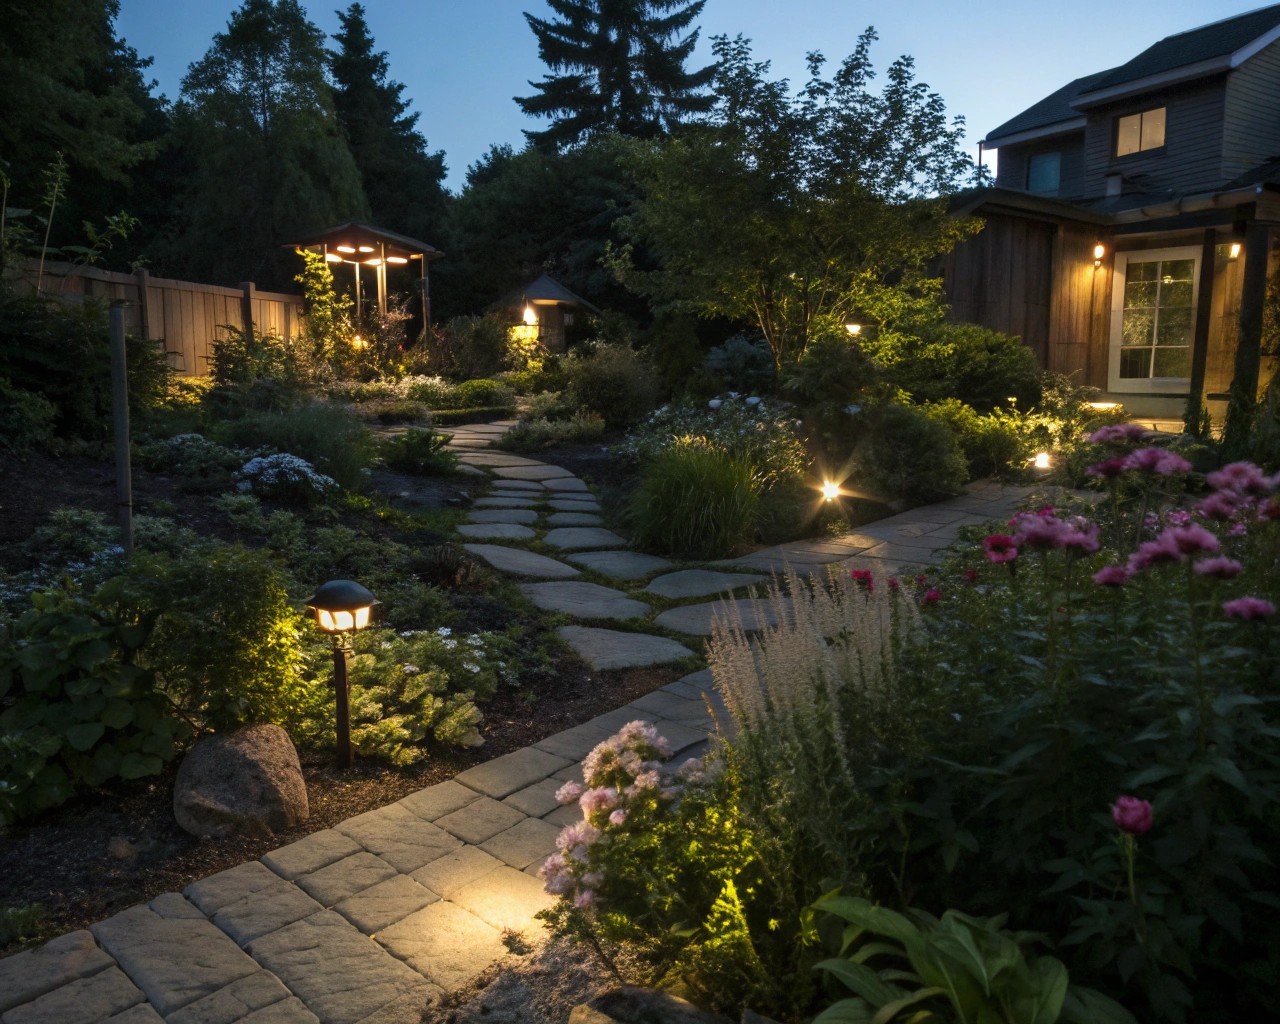
Over-lighting ranks among the most prevalent errors, creating harsh spaces that feel more like commercial parking areas than private gardens. The impulse to illuminate every corner produces glare, eliminates beneficial shadows, and wastes energy. Step back from the “more is better” mindset—strategic placement of fewer, well-chosen fixtures creates more appealing results than blanket coverage.
Visible light sources detract from polished designs. The goal is seeing what the light reveals, not staring into bulbs or fixtures themselves. Choose fixtures with proper shielding and glare guards that direct illumination where intended while concealing the source. When installing uplights near trees or accent lighting near seating areas, position them where foliage or structural elements obscure the fixture from typical sight lines.
Inconsistent color temperatures create visual chaos. Mixing 2700K warm white in one area with 4000K cool white nearby produces jarring transitions that prevent cohesive ambiance. Select a primary color temperature for your space and maintain it throughout, using variations of only 500K or less if needed for specific applications.
Insufficient weatherproofing compromises longevity and safety. Outdoor fixtures require appropriate Ingress Protection (IP) ratings: minimum IP44 for covered areas, IP65 or higher for exposed locations subject to rain and direct moisture. Cable connections need waterproof junction boxes and protective conduit, never exposed standard extension cords.
Poor beam control wastes light and creates glare. Fixtures without proper reflectors and lenses scatter light indiscriminately rather than focusing it where needed. Pathway lights should illuminate the walking surface, not shine sideways into approaching eyes. Uplights need narrow enough beam spreads to reach intended targets without excessive spill onto adjacent areas.
Seasonal Considerations and Adjustments
Outdoor lighting needs shift throughout the year as daylight hours, weather patterns, and landscape appearance change.
Spring brings renewed growth and longer evenings. Clean fixture lenses to remove pollen and winter debris that diminishes output. Adjust accent lighting to highlight newly bloomed flowers and emerging foliage. As trees leaf out, moonlighting effects intensify with fuller canopies providing more dramatic filtering.
Summer’s long days mean lights activate later but still illuminate entertaining that extends well past sunset. Path lighting becomes crucial for guests navigating yards and pools in darkness. String lights create festive overhead ambiance for gatherings, while citronella candles add practical pest deterrence.
Autumn shortening days and rich foliage colors benefit from adjusted accent lighting. Shifting to amber or golden tones enhances fall leaves and creates seasonal warmth. Uplighting deciduous trees showcases their changing canopies before leaves drop. This season also prompts lighting system checks before winter weather arrives.
Winter’s early darkness makes outdoor lighting most noticeable from indoors—well-designed systems provide living landscape views from windows rather than black voids. Cool white tones complement snowy or frost-covered landscapes elegantly. Safety-focused pathway and step lighting becomes critical on icy surfaces. Deciduous trees lose their moonlighting filtering effect but gain structural interest as bare branch patterns cast striking shadows.
Practical Planning Steps
Start by mapping your outdoor space, noting existing electrical access points, key features deserving emphasis, and circulation patterns requiring illumination. Identify zones based on use: entertaining areas need different lighting than pathways, which differ from garden beds meant primarily for viewing.
Walk your property after dark to understand current conditions and visualize desired improvements. Where do you feel uncertain navigating? Which features disappear entirely? Where would you like to gather but currently can’t due to inadequate lighting?
Prioritize safety-critical applications first—steps, elevation changes, and primary pathways. Layer in ambient lighting for general usability, then add accent lighting where it enhances rather than merely decorates. This hierarchy ensures you address necessities before moving to enhancements if budget requires phasing.
Test fixture placement before permanent installation. Battery-powered work lights or temporary positioning of purchased fixtures allows experimentation with angles, heights, and spacing. Walk through the space, sit in seating areas, and view from windows to assess effectiveness from multiple perspectives.
Calculate electrical load if installing low-voltage systems. Each transformer handles limited wattage—overloading causes blown fuses and system failure. For extensive lighting plans or large properties, multiple transformers or supplementary solar fixtures may be necessary.
Consider professional consultation for complex installations, particularly those requiring extensive wiring, tree mounting at height, or integration with home automation systems. Experienced lighting designers bring technical knowledge and aesthetic sensibility that prevents costly mistakes and produces polished results from the start.
Designing Specific Outdoor Zones
Entertaining and Dining Areas
These social zones benefit from layered, adjustable lighting that accommodates shifting activities. Overhead pendant lights or chandeliers suspended above dining tables provide focused illumination for meals. String lights or lanterns contribute softer ambient glow during conversations. Under-counter lighting in outdoor kitchens illuminates storage and creates appealing visual rhythm along island bases.
Dimmers prove invaluable here, allowing bright task lighting for food preparation that can be softened during dining and lowered further for after-meal relaxation. Wall sconces flanking seating areas add architectural interest while filling in shadows.
Cooking Zones
Outdoor kitchens require bright, focused task lighting for safe food handling and cooking. Install fixtures above grills, cooktops, and prep counters—wall-mounted downlights work particularly well, casting shadow-free illumination across work surfaces. Under-cabinet LED strips light countertops without occupying overhead space.
Ensure fixtures withstand heat exposure near cooking appliances and meet appropriate IP ratings for moisture from steam and cleaning. Position light sources where they won’t create glare off polished surfaces or shine directly into the chef’s eyes.
Pathways and Transitions
Safe circulation between zones requires consistent, glare-free illumination. Path lights every 8 to 10 feet provide adequate coverage along straight routes, with spacing adjusted closer on curves. Staggered placement on alternating sides prevents the runway effect while maintaining visibility.
For multi-level spaces, illuminate every step and landing clearly. Recessed step lights installed flush with treads or risers mark elevation changes without protruding to create tripping hazards themselves. Post lights at pathway intersections or decision points help orient visitors through the space.
The interplay between light and darkness defines outdoor spaces after sunset. Thoughtful layering that balances ambient illumination, task-focused brightness, and dramatic accents creates environments where people want to linger. Understanding technical fundamentals—color temperature, fixture selection, beam control, spacing—allows you to translate design vision into functional reality. Whether entertaining guests or simply enjoying quiet evenings under the stars, properly executed outdoor lighting extends your home’s livability and transforms ordinary yards into evening destinations.

